High Line/Riverside Trail in Logan Canyon, Utah
High Line/Riverside Trail in Logan Canyon, Utah
Last updated: June 16, 2020
How to Get There:
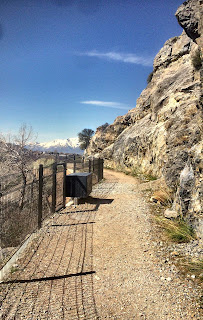 |
| High Line Trail |
To get to the First Dam, you simply need to head to Logan Canyon. (There are many signs withing Logan which point you to Logan Canyon.) Once you are almost to the canyon, you will pass the University and start going down a dip. Now please note that the turn off to get to first dam is at the bottom of this hill! You will see a place to turn and park in a parking lot. You need to park in this parking lot.
 |
| View into Cache Valley |
The Hike:
Once you have all your water, snacks, first aid kit, and whatever else you may need, head back to where you pulled in from the main road and you should see a tunnel. This tunnel goes underneath the road and will lead you to the other side.
 |
| The hill after the tunnel |
When you get to the top of the hill, to the far left you will see a bench with a little informational sign. If you are interested in the information about the surrounding area, this sign talks about the Bonneville Lake level and has a very cool map. You will also see two trails. The one to the left is going towards the north, and another heading to the east into the canyon. The trail heading into the canyon will have a sign saying No Bikes, this is the trail we want to take to hike the High Line Trail.
 |
| View into Logan Canyon |
You will continue on this trail for about three-quarters of a mile. You will pass some concrete structures which are above you and under close watch. These have to do with canal repairs from 2013. After you have passed these, you will come to a point where there is a little hill going up from the trail with a trail going left and right. Go up this hill and turn right, the left leads to the concrete structures.
After turning right, you will come to a tunnel. The tunnel had very low ceilings. Me, being a five foot five human, had to crouch the whole way. The tunnel is longer than the one you had to cross at the beginning and should be gone through with cation. I highly recommend a flashlight to see the ceilings and make sure no one hits their heads.
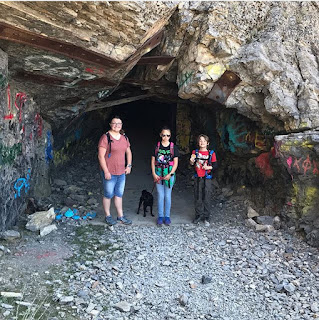 |
| Front View of the tunnel. With my brother, sister, and me! |
 |
| The back end of the tunnel |
After we had reached the end, we walked along the road for a bit till we came upon a bridge leading to the other side of the river. From the end of the turnout to the bridge was about 100 yards. Once we crossed the bridge, we were in another small parking lot. This parking lot connected to the Riverside trail.
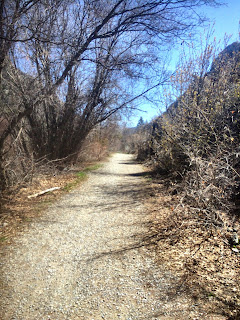 |
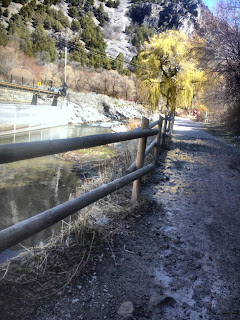
| The River Side Trail |
Riverside Trail is a trail that follows the river all the way back towards First Dam. This trail also passes the Stokes Nature Center which looked very fun for kids. The nature center was not open but did have a lot of information around the area. Such as birds, and clean air information. It also had some really cool bee houses.
We followed this trail all the way back to the First Dam without any mishaps. There is another bridge that you will want to cross as to not end up in another turnout along the road with nowhere to walk but the road. This is why you cross the bridge and it will keep you on the trail. From where we started to where we ended on this trail, it was almost two miles.
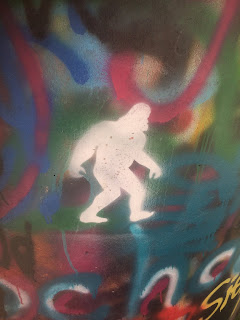 |
| Bigfoot Graffiti |
 |
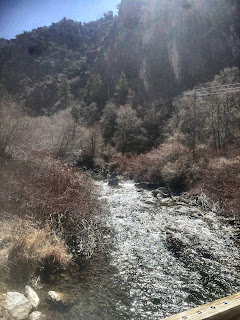
| The river next to the trail |
Aftermath:
All in all, this was a great hike! These hikes are great for kids! If you do not want your children near edges, or looking for a relatively flat hike, I would recommend the Riverside Trail. But if you are looking for good views into Cache Valley, you can get some great pictures from the High Line Trail. The River Side Trail also gives great setups for amazing pictures as well.
Have you taken this trail and have something to add? Comment down below your experiences. If you liked this post, please take some time to share this on your social platforms. Want to see more hikes near Logan, Utah? I recommend Richard's Hollow Trail.
Thank you for taking the time to read this and I hope you have a great day!




Comments
Post a Comment